Q & A

Most frequent questions and answers
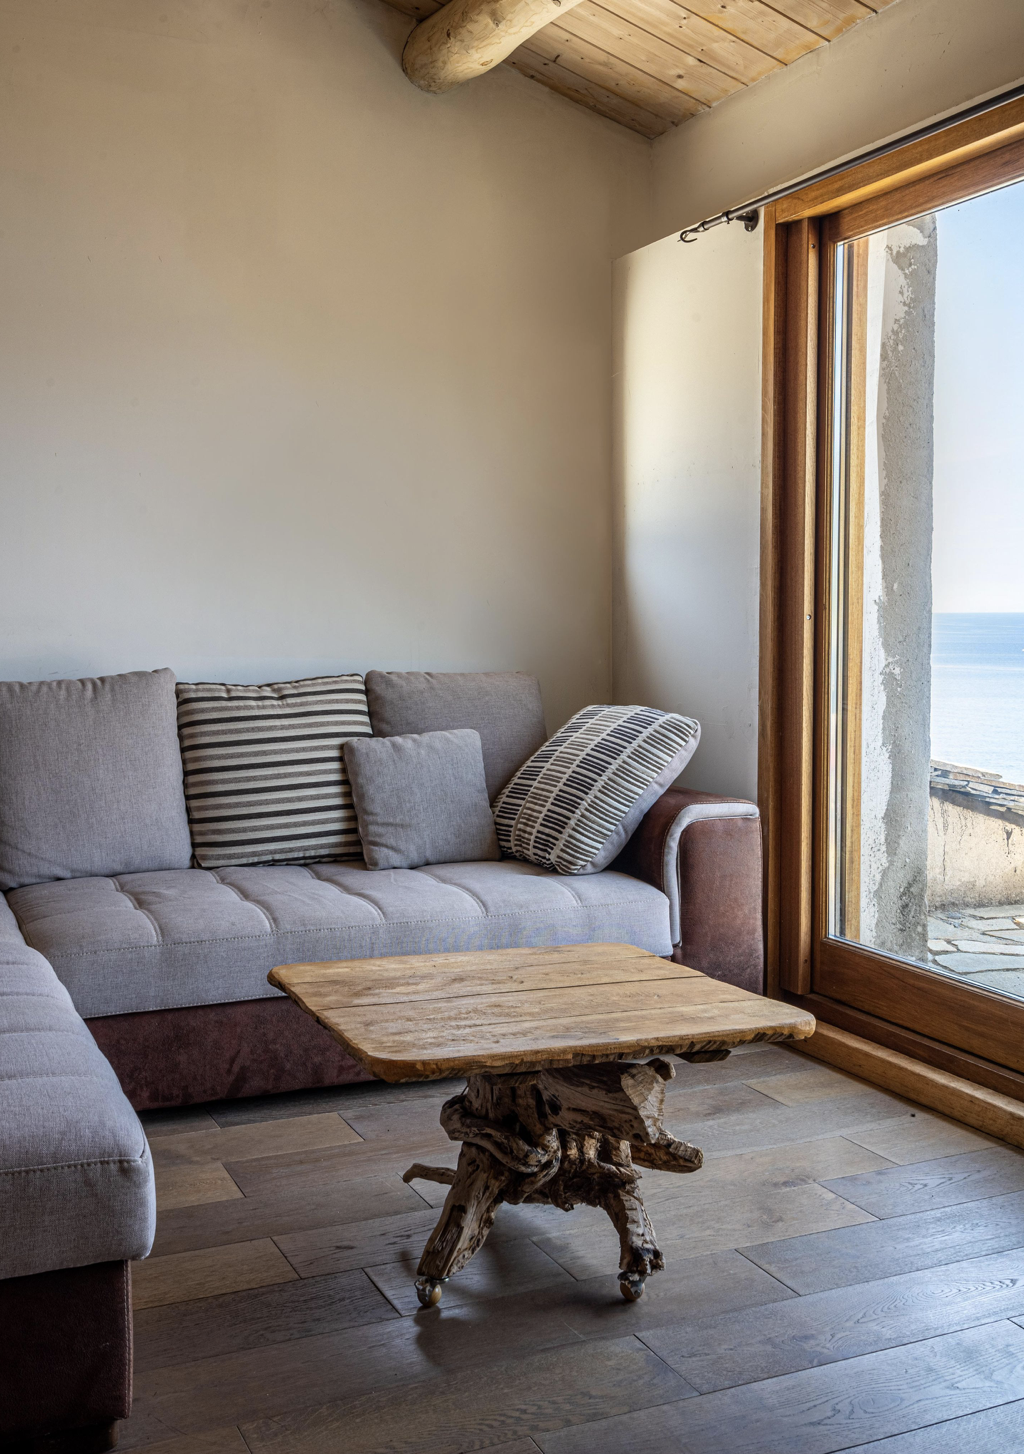
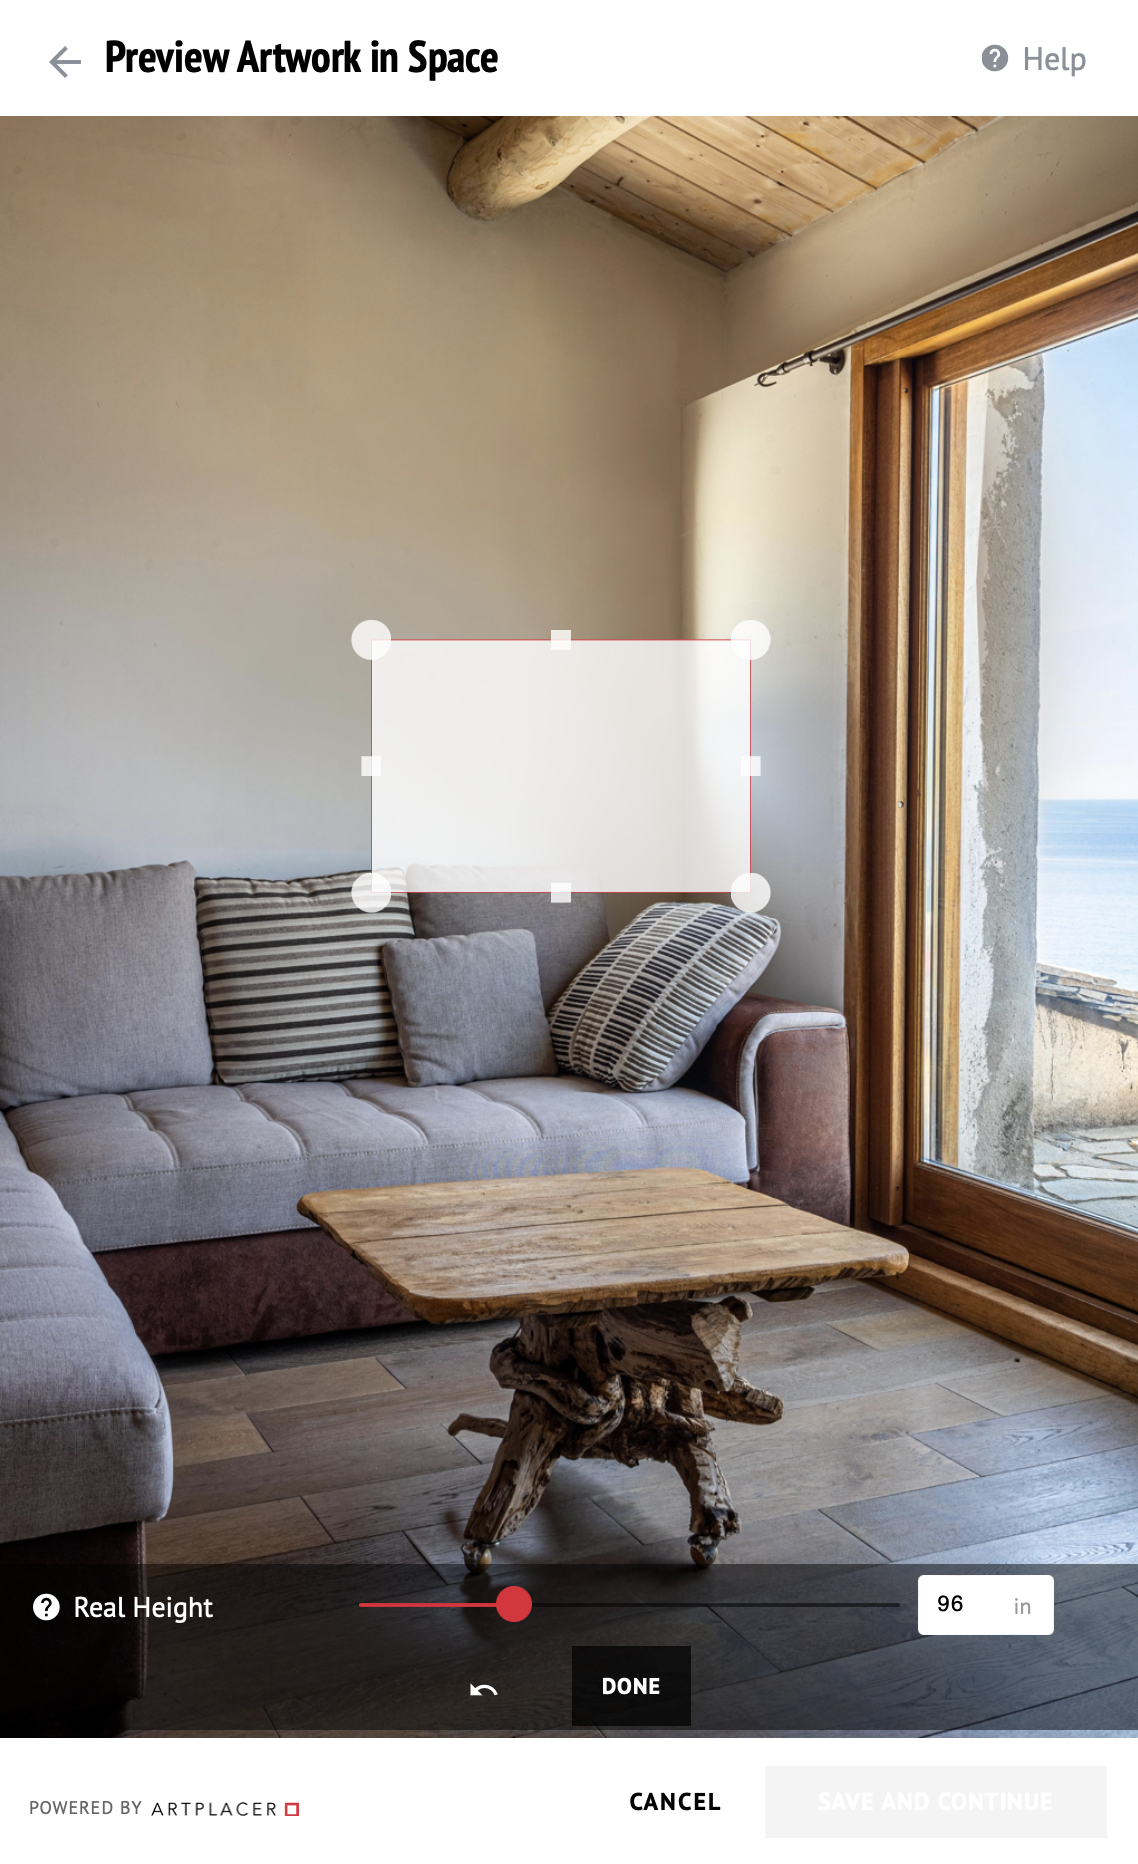
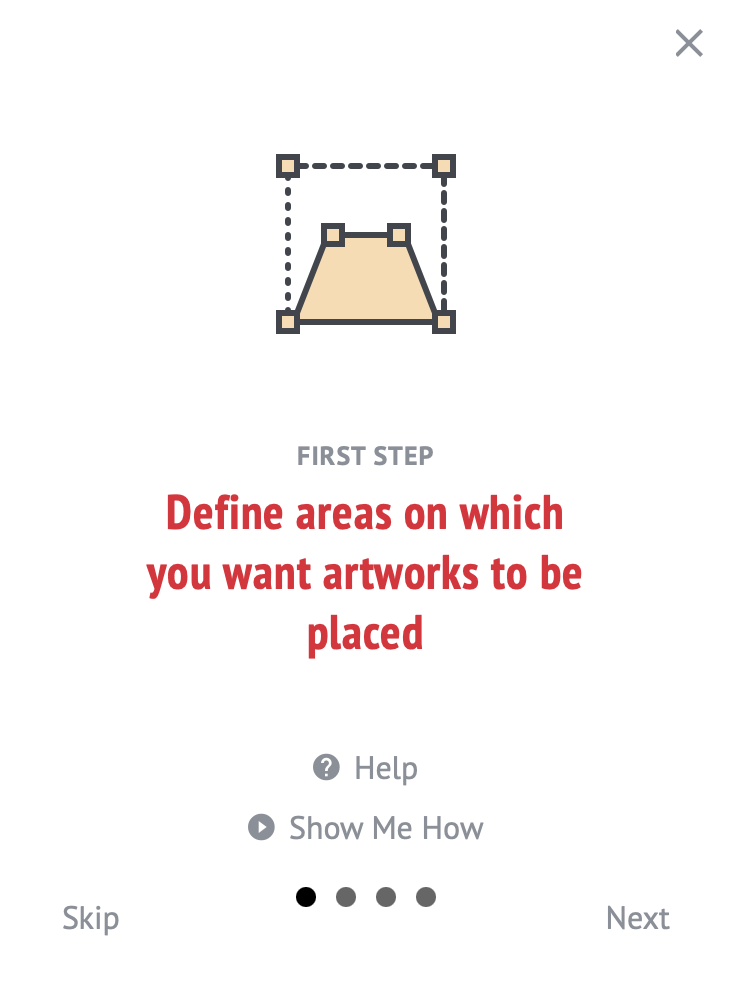
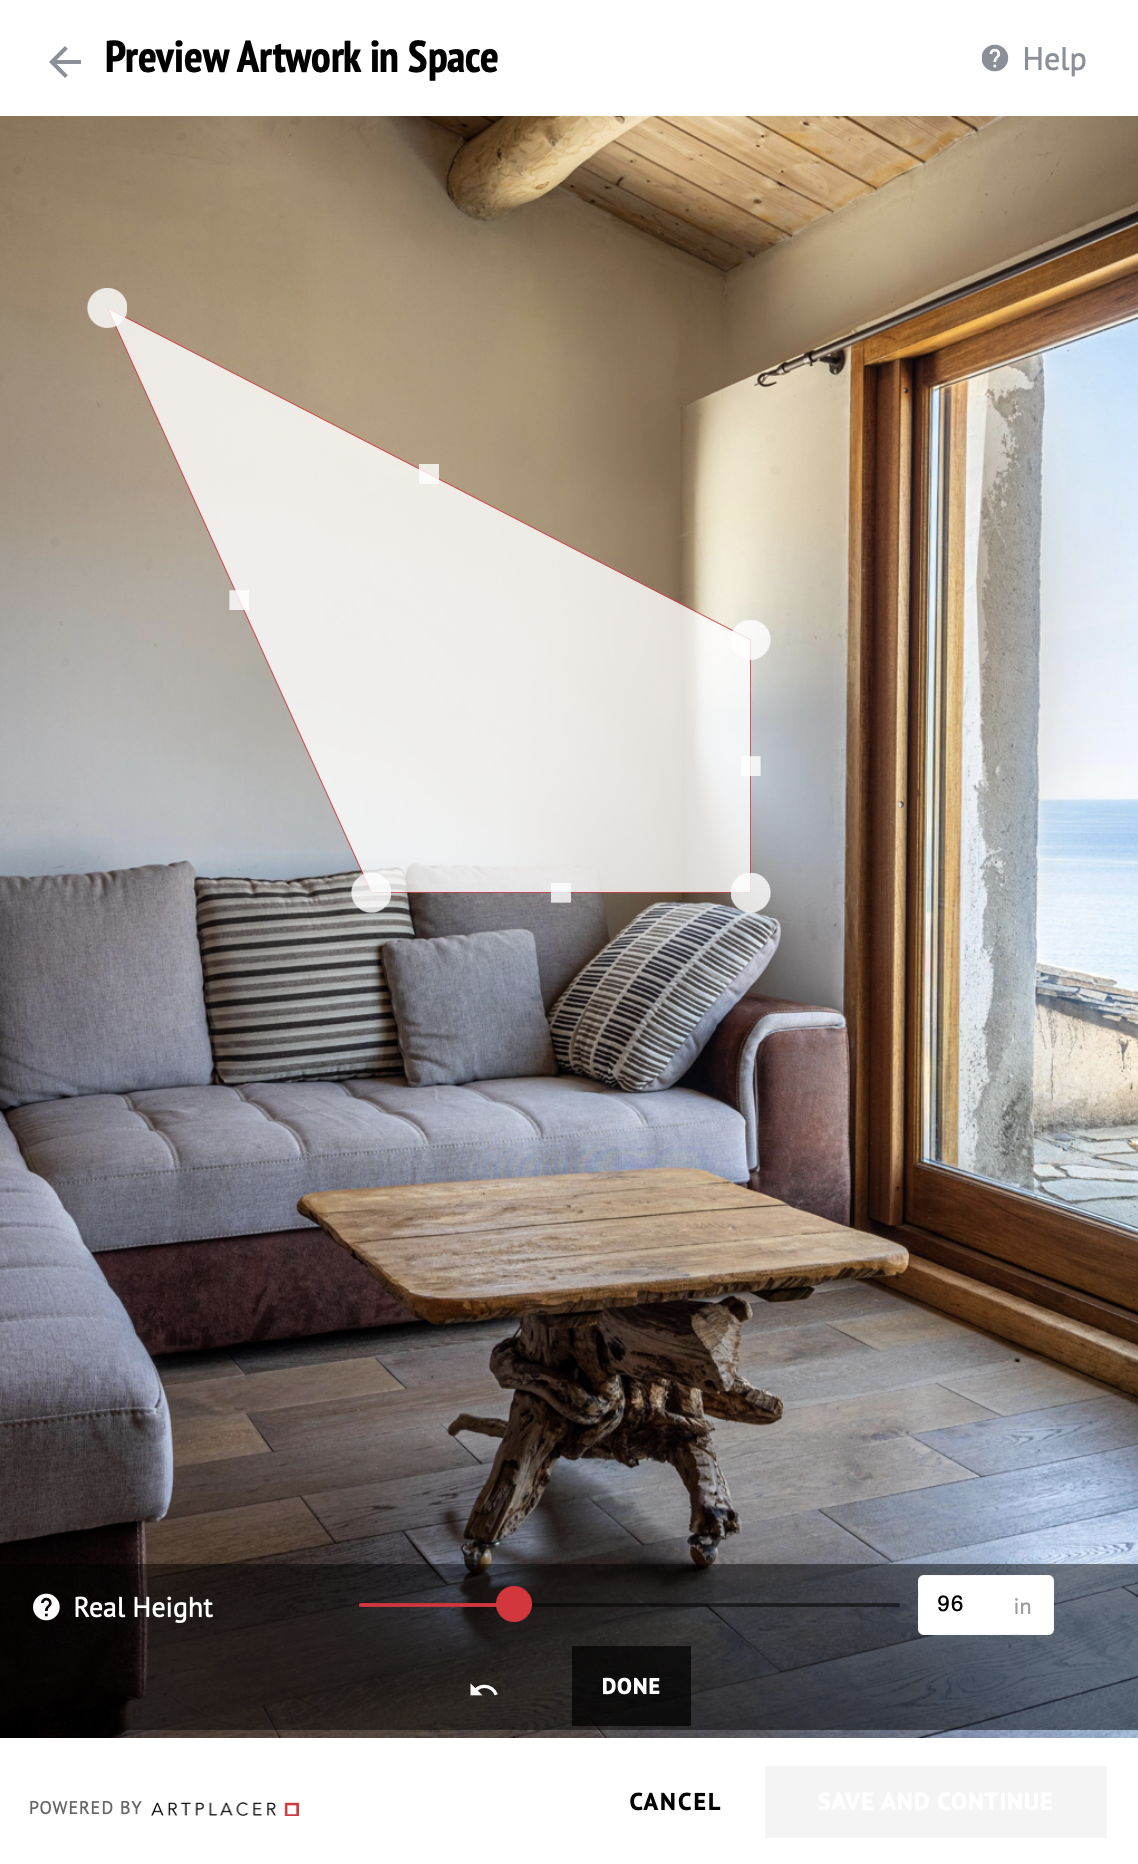
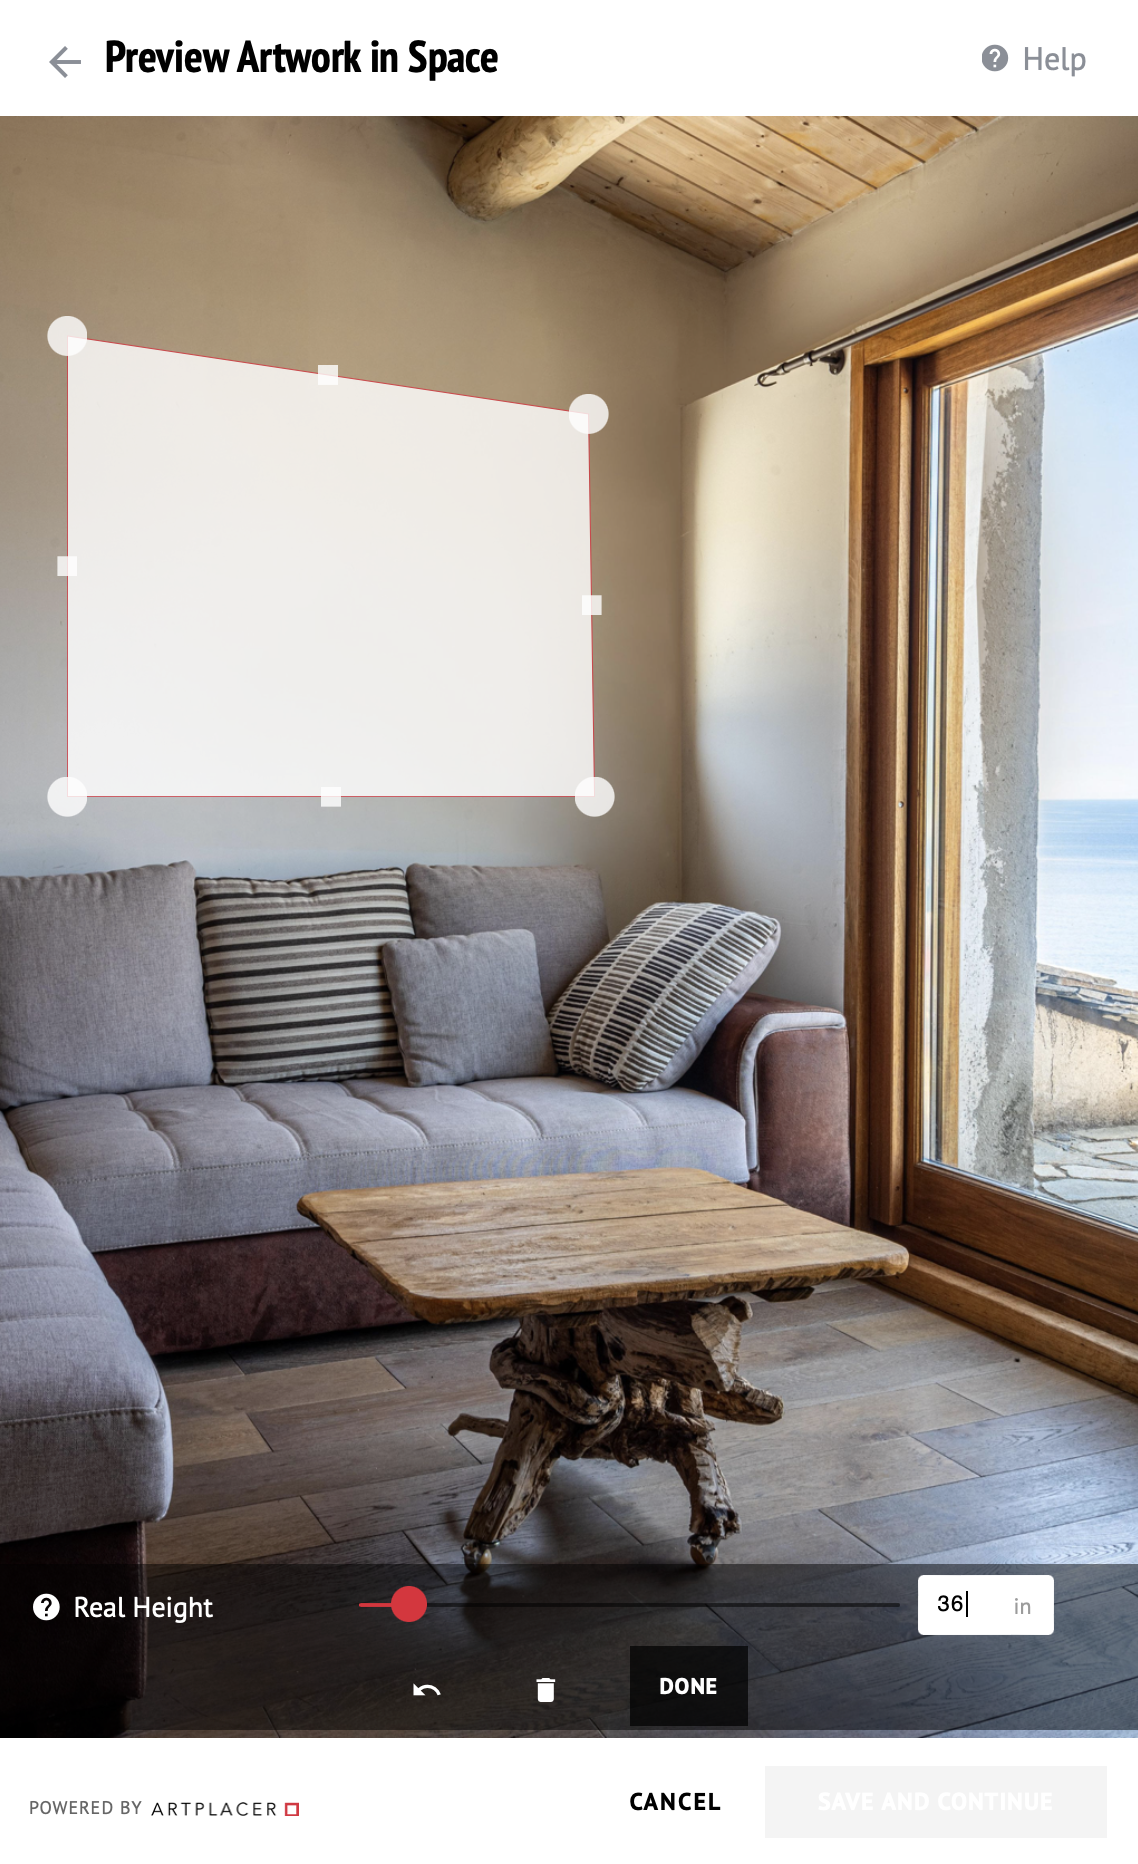
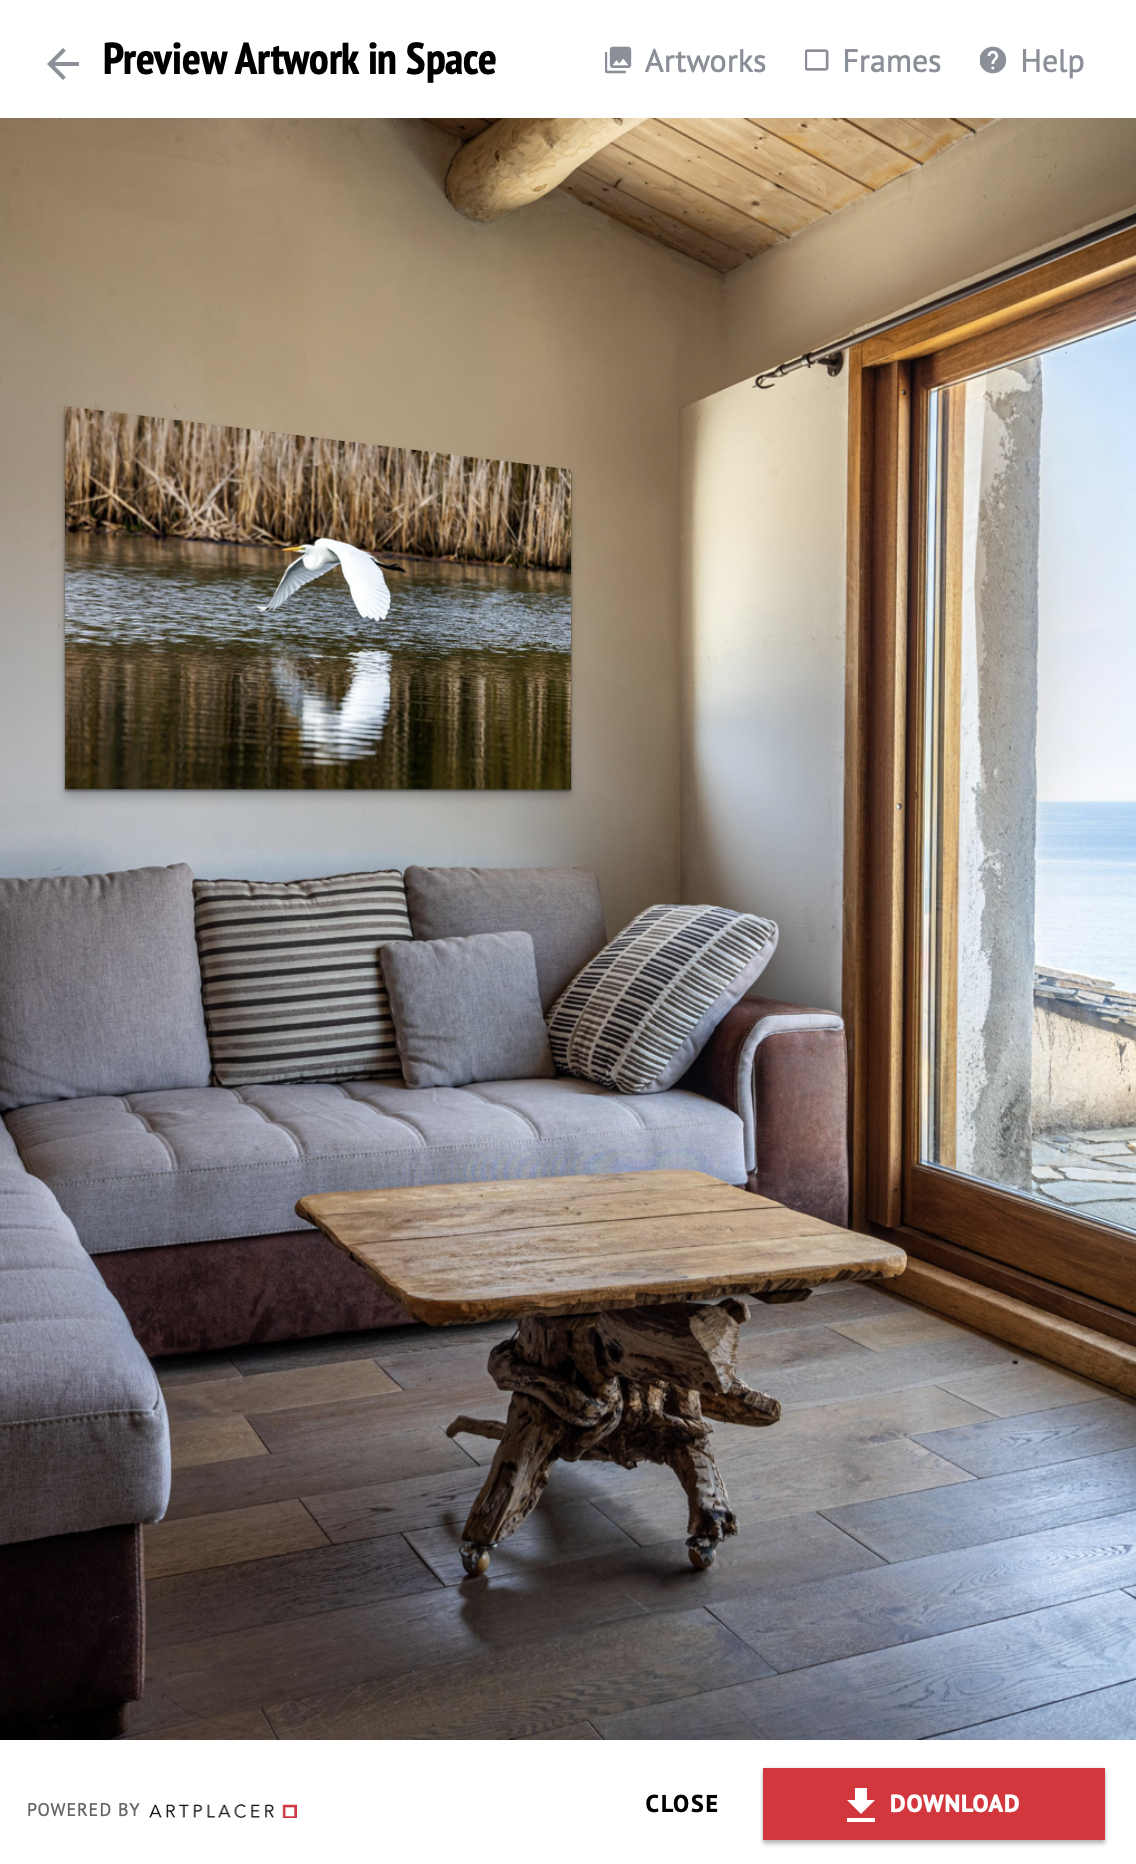
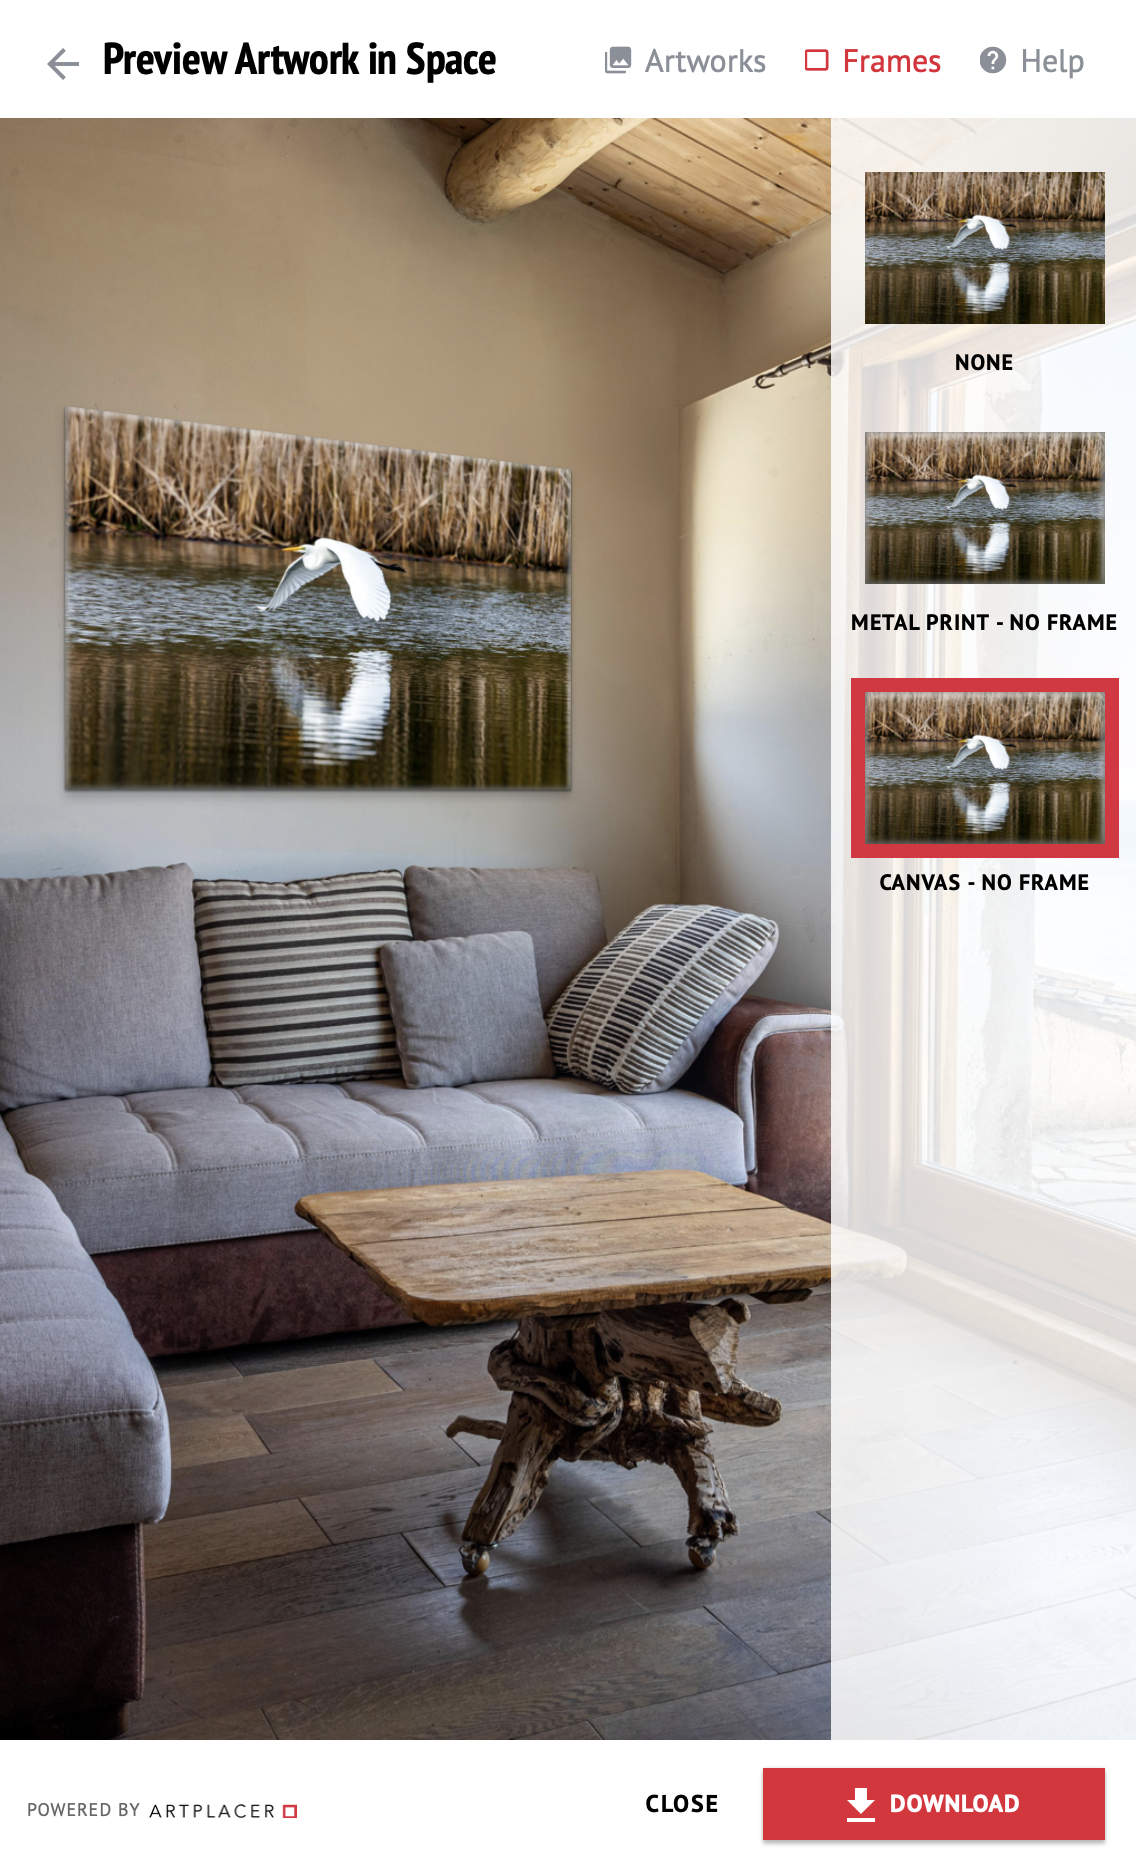
“View in Your Room”

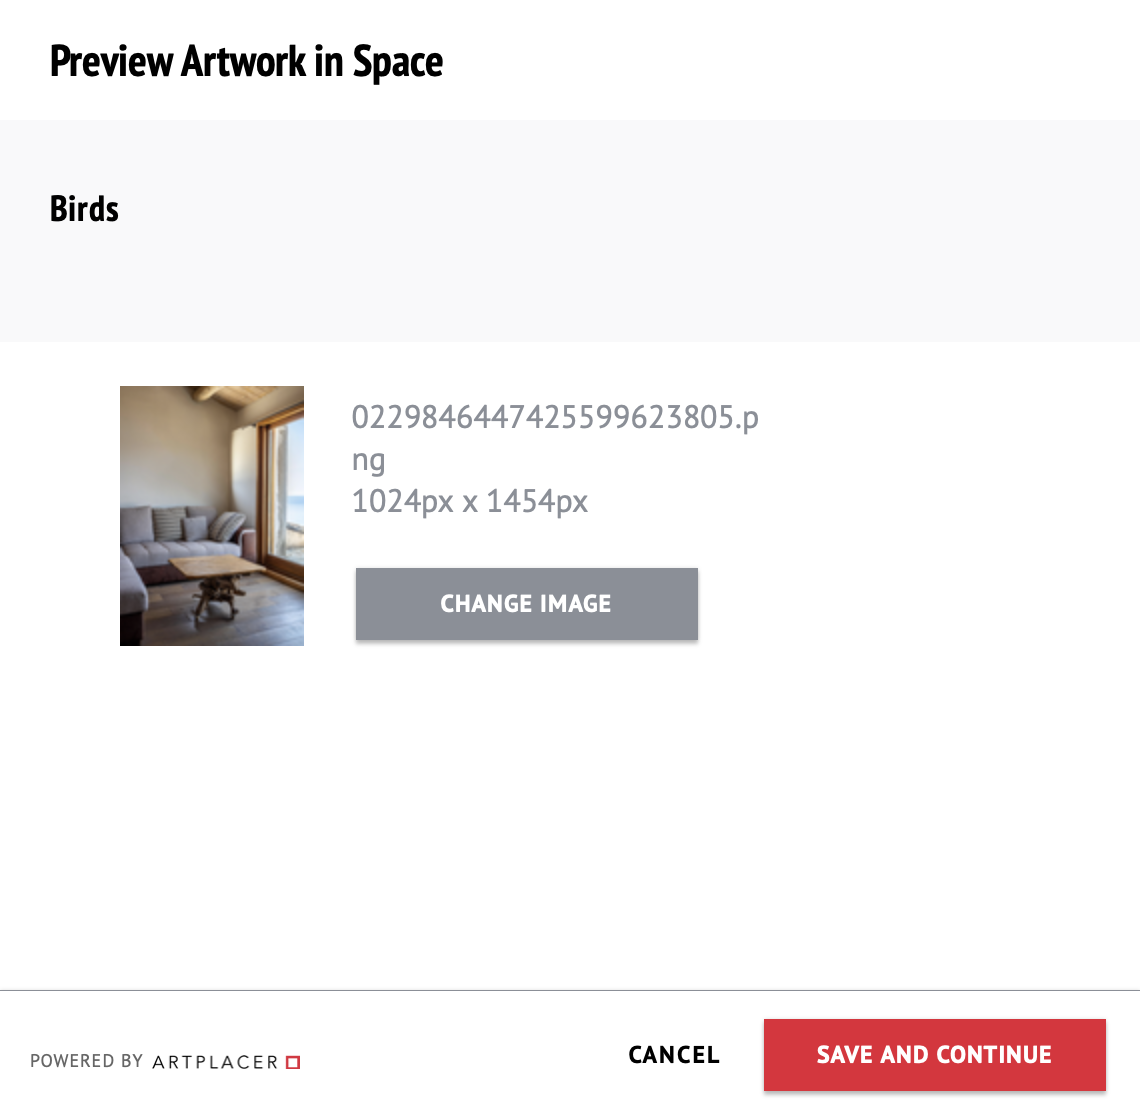
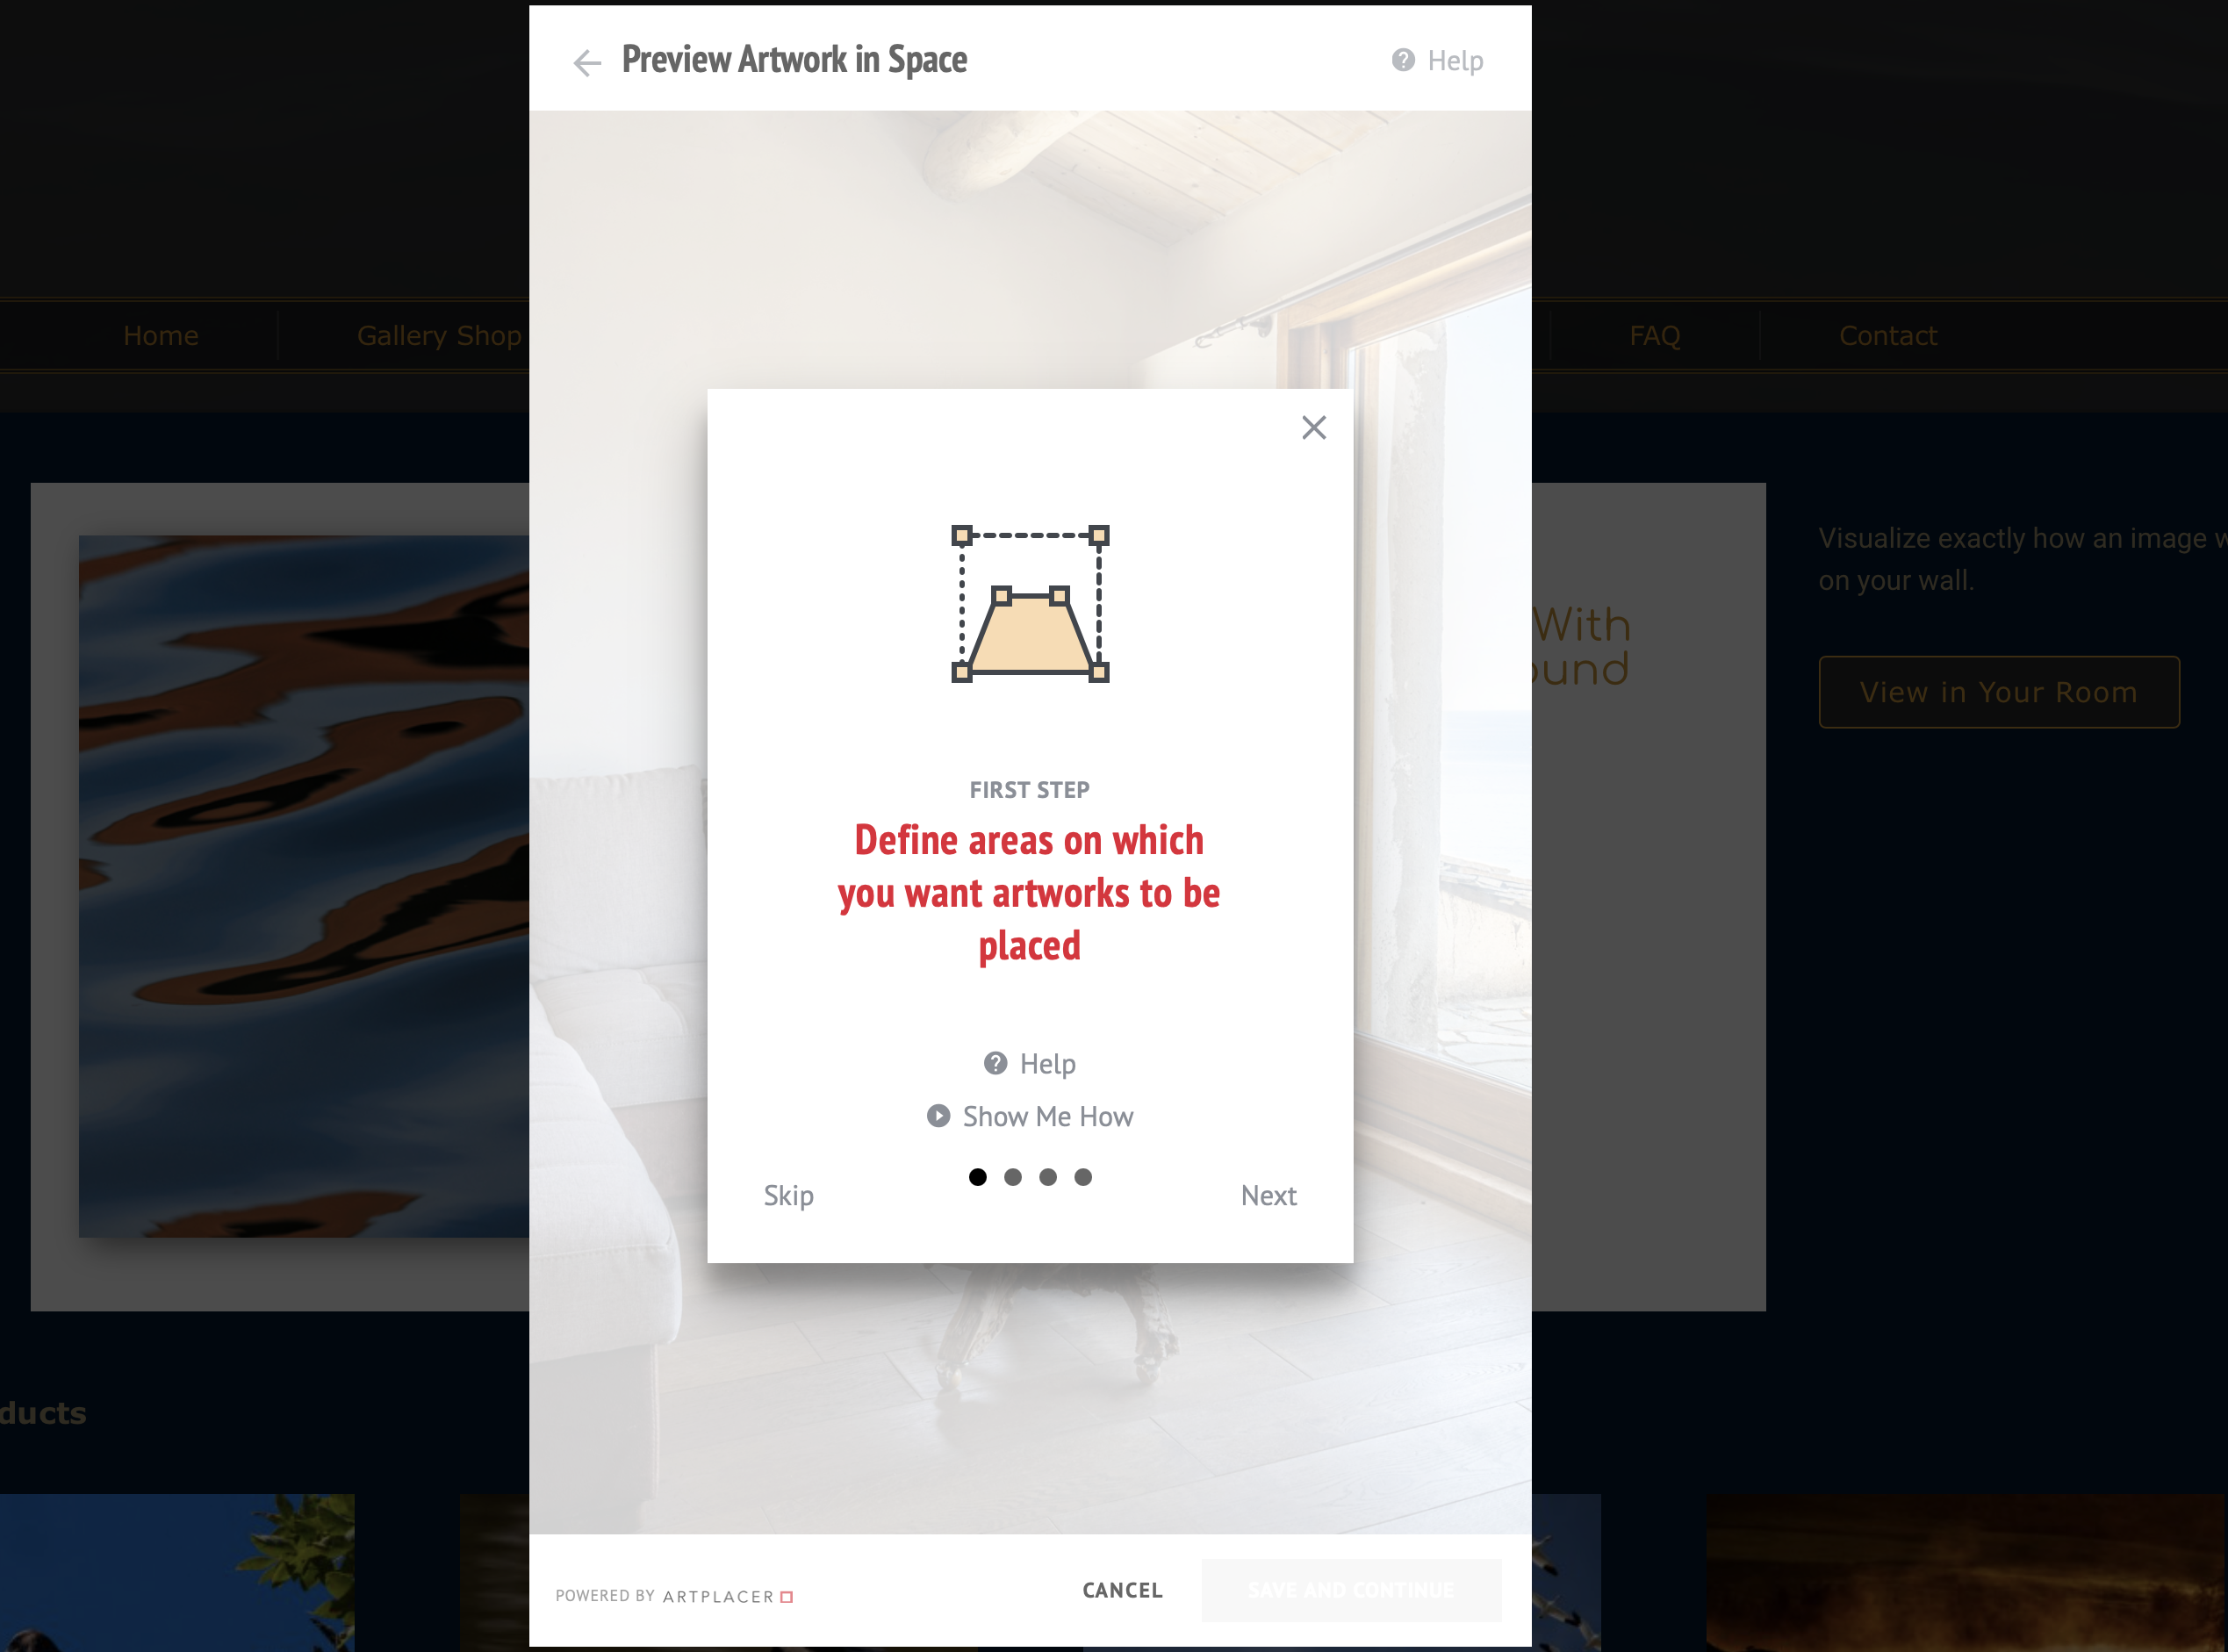
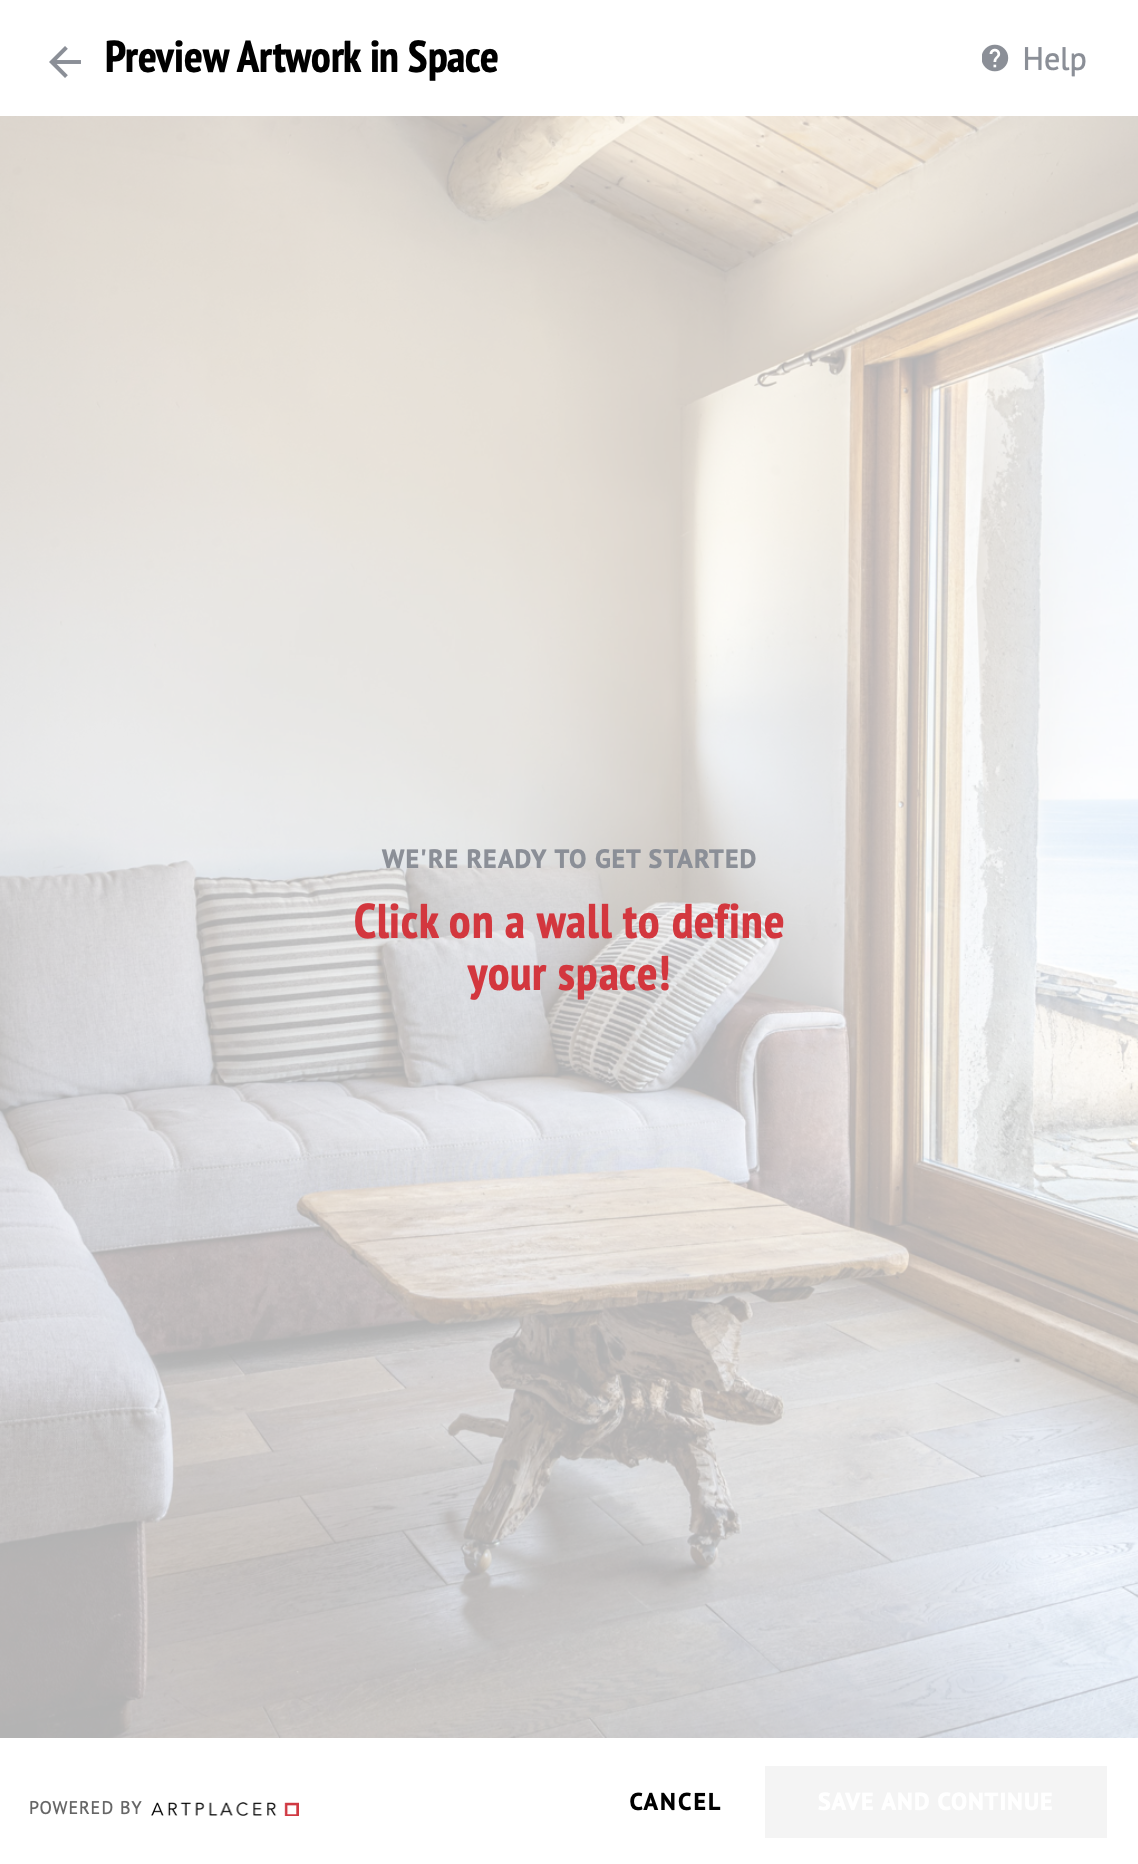
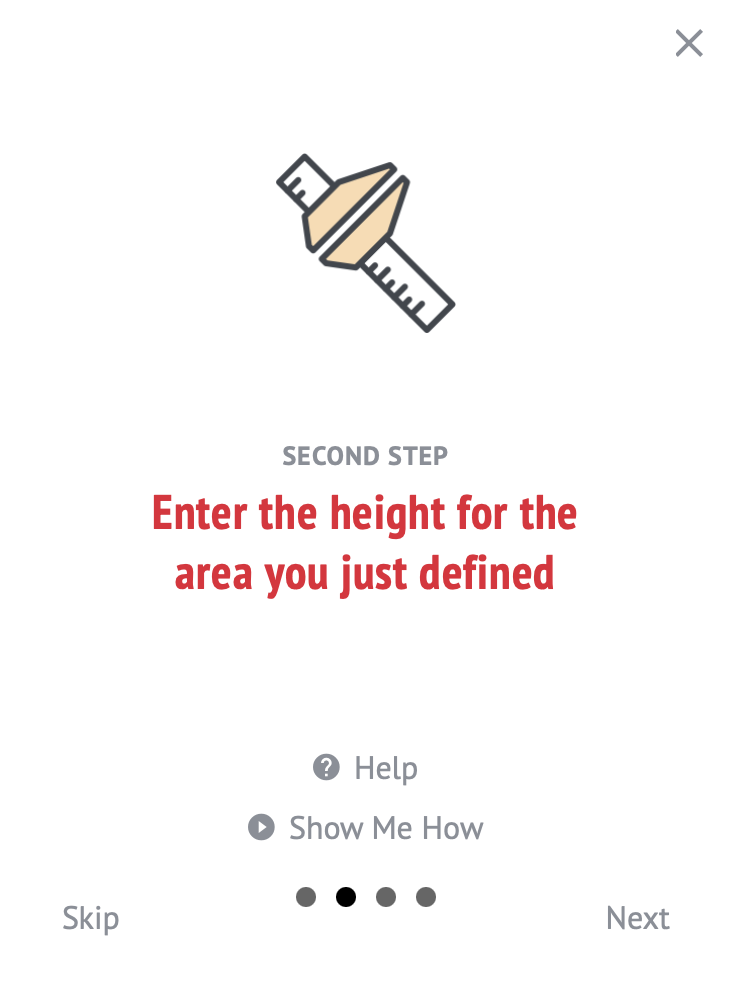
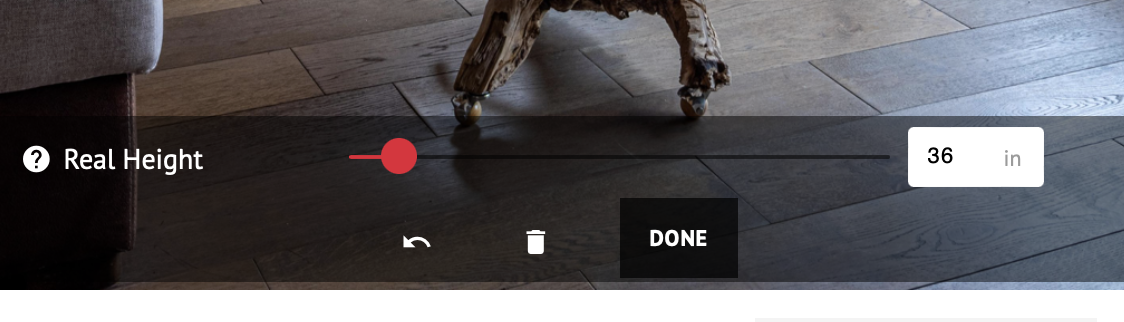
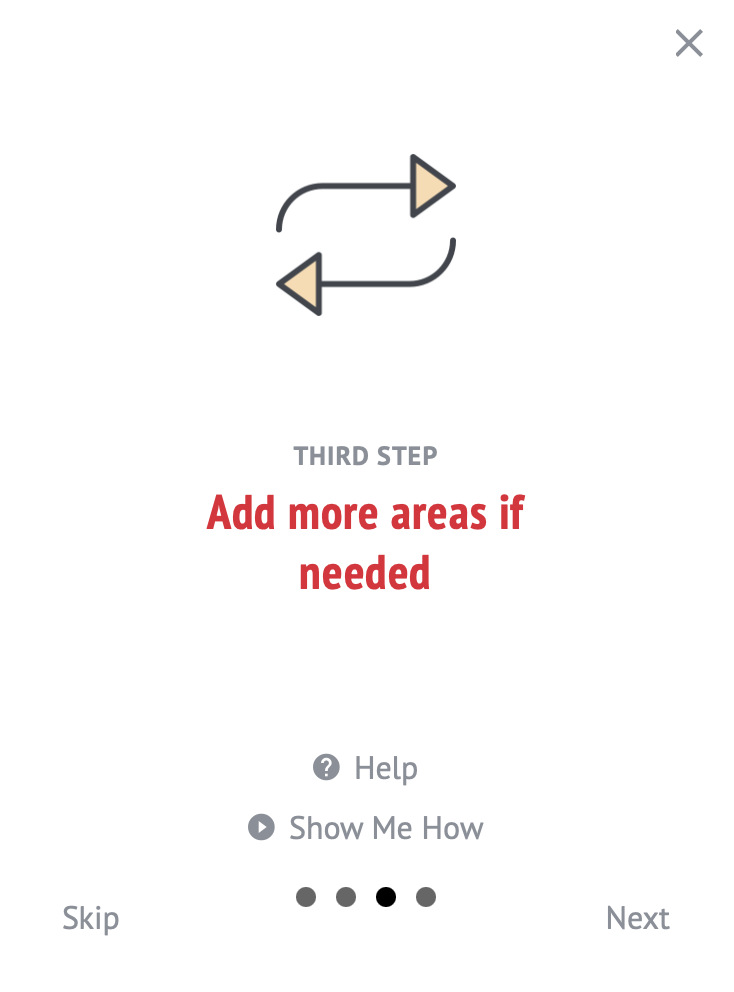
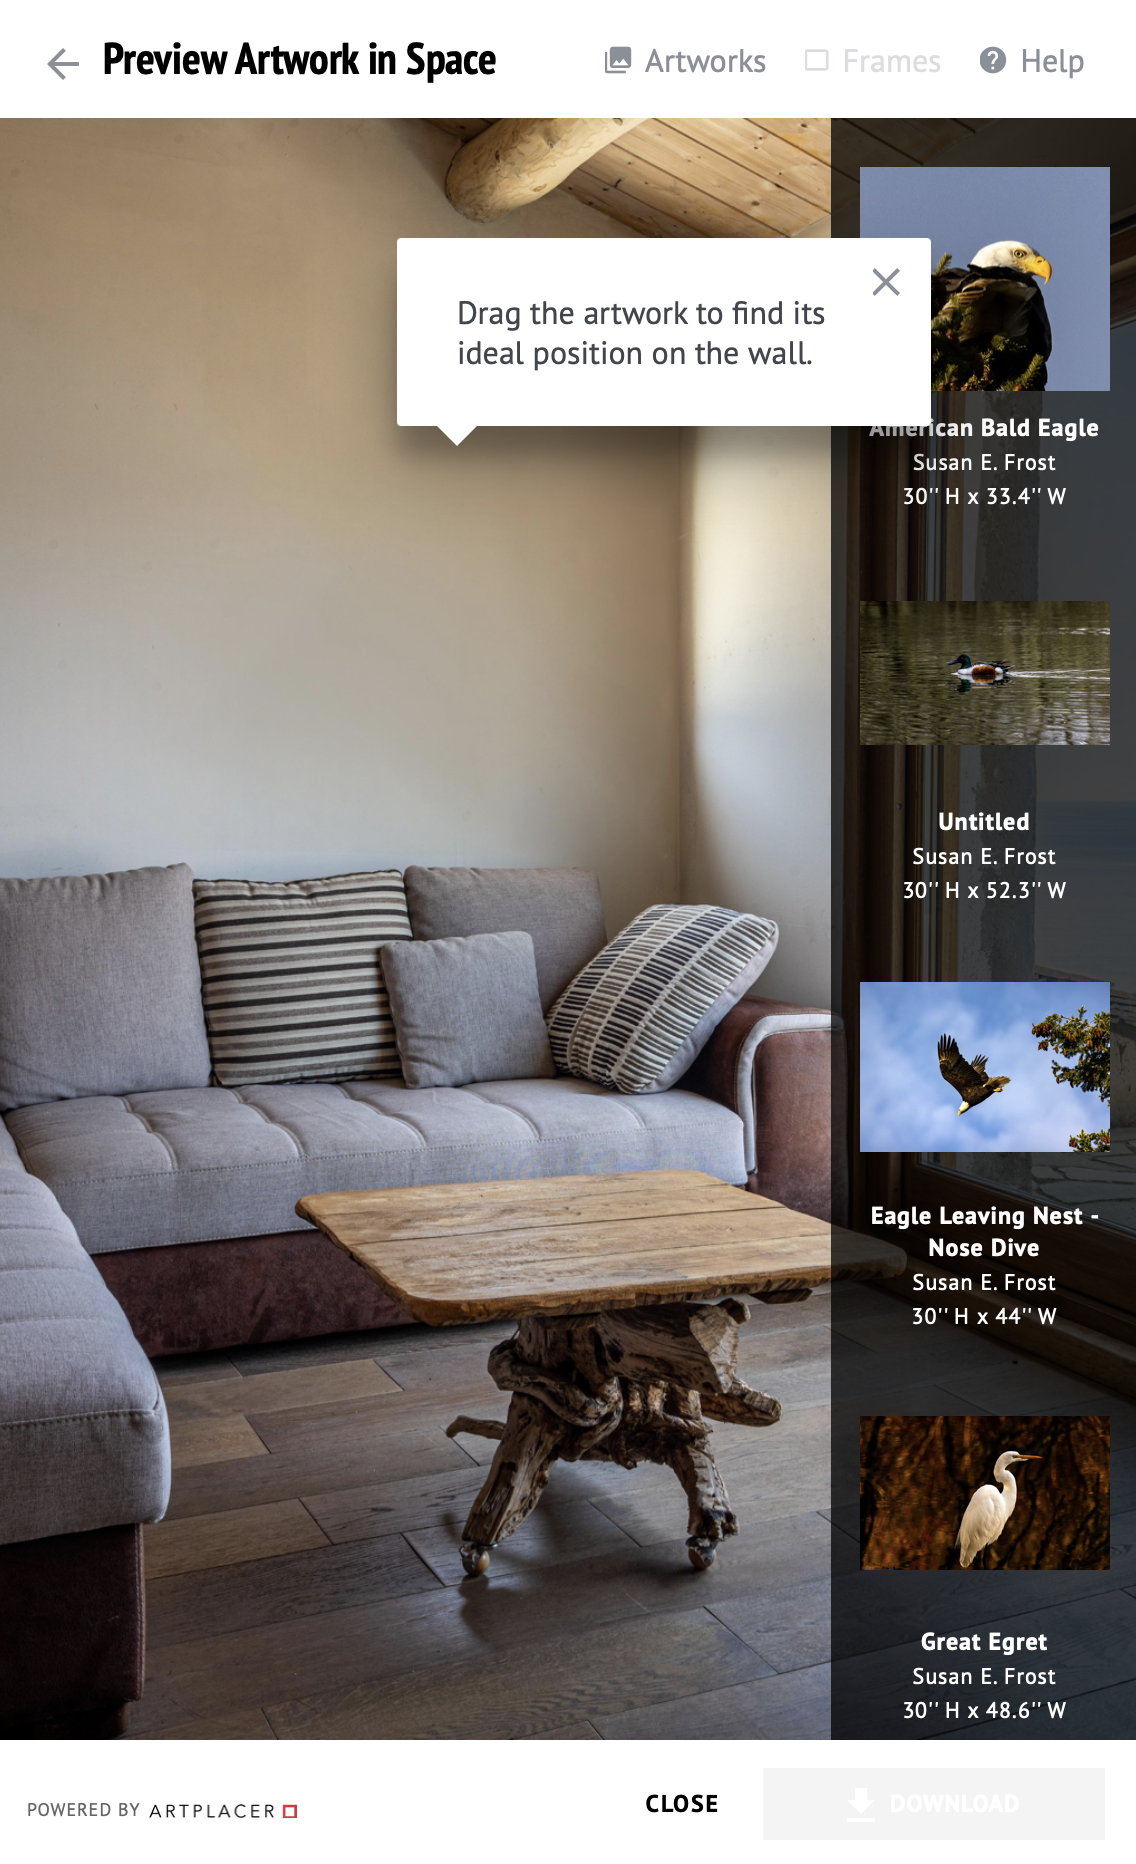
When you select this option, you will be prompted to upload an image of the wall in your space. You will then be instructed on how to use this extraordinary tool to place my images on your wall. I wanted to take the stress out of making your online art purchase! Now you can see how my photos will look before making the commitment. You can spend as much time as you’d like, in the privacy of your home or office, trying different images and dimensions on your walls so you feel sure about your ultimate choices! I hope you enjoy this amazing tool! 

Scroll down for step-by-step instructions.

Yes! Go to my Contact page and send me a message with your requests.

Go to my Contact page and send me a message with the image(s) description and the size specifications. Although I only offer metal and canvas prints on my online ordering portal, I take special orders for prints on photographic paper and acrylics, as well.

Every Fine Art Print comes with a Certificate of Authenticity from Susan E. Frost. Here is an example for your reference.

    How to use the View in your room Feature

    Step One

    Take a photo of the place where you want to see how one of Susan's images will look hanging on the wall.
    Upload the photo by clicking the "upload image" button.
    (the photo of your space)
    The uploaded photo of your space will then appear in the next window.

    Step two

    Now you will define the areas on which you want Susan's images to be placed.
    In this step you will click on a wall to define your space.
    To define the area, first drag the corners of the box that appears and place them where you would like to see the photo placed.
    Next, you will need to enter the height of the area you just defined.
    (enter height in this bottom area of the screen)
    Use the slider or enter the height by changing the numbers on the right. You can change the measurements to either inches or centimeters.
    Next, you will need to enter the height of the area you just defined.
    When you are finished defining the space or spaces where you would like to place images, you will then need to hit the red "Save and Continue" button at the bottom-right of the screen.

    Step Three

    In this step, you will be able to choose the artwork you would like to place on the wall.
    The photos from the gallery category you were previously viewing will appear on the right of the screen.
    Drag your selection into the defined area.
    The photos from the gallery category you were previously viewing will appear on the right of the screen.
    If desired, you can select the "Frames" option at the top of the screen to specify metal or canvas prints. All this will do is create some realism by adding drop shadows and light effects.
    If you would like to save your space with Susan's image(s) placed on the wall, you can select the red "download" button at the bottom of the screen at this point.

    That's it! You're Done!